Suzuki GSX-R 1000 Service Manual: Sprocket mounting drum dust seal / bearing removal and installation
Removal
- Remove the rear wheel assembly. Refer to “rear wheel assembly removal and installation” in section 2d .
- Remove the rear sprocket mounting drum assembly (1). Refer to “rear sprocket / rear sprocket mounting drum removal and installation” (page 3a- 3).
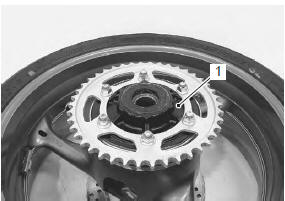
- Remove the retainer (2).
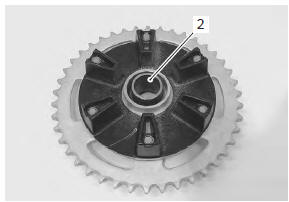
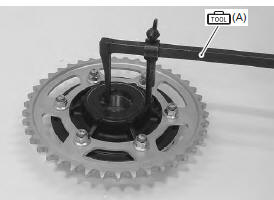
- Remove the sprocket mounting drum dust seal with the special tool.
Special tool
 (a): 09913–50121 (oil seal
remover)
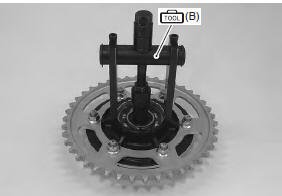
- Remove the sprocket mounting drum bearing with the special tool.
Special tool
 (b): 09921–20240 (bearing remover
set)
Installation
| Caution the removed dust seal and bearing must be replaced with new ones. |
- Apply grease to the bearing before installing.
 : Grease 99000–25010 (suzuki
super
grease “a” or equivalent)
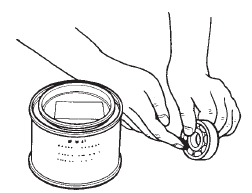
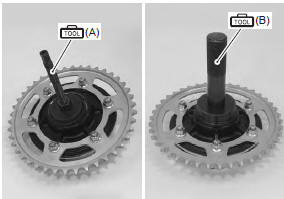
- Install the bearing and dust seal to the sprocket mounting drum with the special tools.
| Caution the sealed cover of the bearing must face wheel hub side. |
Special tool
 (a): 09924–84510 (bearing
installer set)
 (b): 09913–70210 (bearing
installing set (10
– 75 Ô))
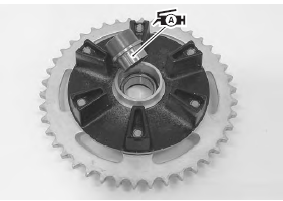
- Apply grease to the retainer.
 : Grease 99000–25010 (suzuki
super
grease “a” or equivalent)
- Install the rear sprocket mounting drum assembly to rear wheel hub. Refer to “rear sprocket / rear sprocket mounting drum removal and installation” .
- Install the rear wheel assembly. Refer to “rear wheel assembly removal and installation” in section 2d .
 Drive chain related parts inspection
Refer to “rear sprocket / rear sprocket mounting drum removal and
installation” .
Dust seal
Inspect the dust seal for wear or damage. If any damage
is found, replace the dust seal with a new one. ...
 Drive chain replacement
Use the special tool in the following procedures, to cut
and rejoin the drive chain.
Note
when using the special tool, apply a small
quantity of grease to the threaded parts of
the s ...
Other materials:
Steering system inspection
Inspect steering system
initially at 1 000 km (600 miles, 2 months) and every
12 000 km (7 500 miles, 24 months) thereafter
Steering should be adjusted properly for smooth turning
of handlebars and safe running. Overtighten steering
prevents smooth turning of the handlebars and too loose
steer ...
Crankcase breather (pcv) hose inspection
Inspect the crankcase breather (pcv) hose in the
following procedures:
lift and support the fuel tank with the prop stay.
Refer to “fuel tank removal and installation” in section 1g .
Inspect the crankcase breather (pcv) hose (1) for
wear and damage.
If it is worn or damaged ...
License plate light removal and installation
Removal
Remove the frame cover. Refer to “exterior parts
removal and installation” in section 9d (page 9d-
6).
Disconnect the license plate light coupler (1).
Remove the nuts.
Remove the license plate light assembly (2).
Installation
Install the license pl ...
