Suzuki GSX-R 1000 Service Manual: Fuel tank construction
|
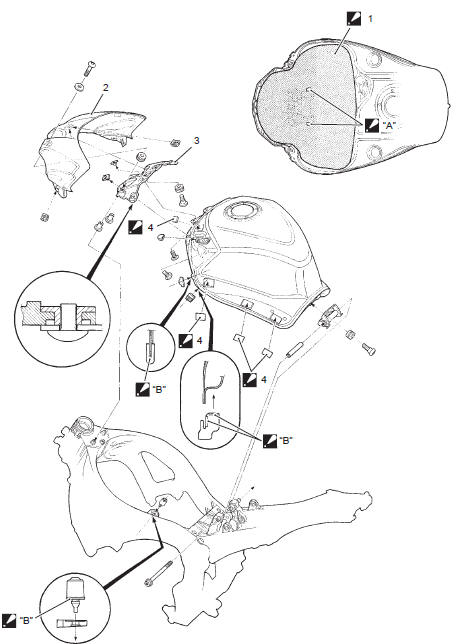
 Fuel tank heat
 Velcro fastenings
 Insert
 Apply
Apply
 Fuel pump relay inspection
Refer to “electrical components location” in section 0a .
Inspect the fuel pump relay in the following procedures:
remove the frame covers. Refer to “exterior parts
removal and installa ...
 Fuel tank removal and installation
Removal
Keep away from fire or spark.
Spilled gasoline should be wiped off
immediately.
Work in a well-ventilated area.
Remove the front s ...
Other materials:
Stp sensor removal and installation
Removal
Remove the throttle body. Refer to “throttle body
removal and installation” in section 1d (page 1d-
10).
Remove the stp sensor (1) with the special tool.
Special tool
: 09930–11950 (torx wrench (5 mm))
Note
prior to disassembly, mark the stp sensor’s
origina ...
Specifications
Tightening torque specifications
Note
the specified tightening torque is described in the following.
“Chassis bolt and nut inspection”
Reference: for the tightening torque of fastener not specified in this
section, refer to “tightening torque list” in section 0c . ...
Starter clutch inspection
Refer to “starter clutch removal and installation” .
Starter clutch
Install the starter driven gear onto the starter clutch.
Turn the starter driven gear by hand to inspect the
starter clutch for a smooth movement. The gear
turns in one direction only. If a large resistance is felt
...