
Suzuki GSX-R 1000 Owners Manual: Air cleaner
The air cleaner element must be kept clean to provide good engine power and g1as mileage. If you use your motorcycle under normal low-stress conditions, you should service the air cleaner at the intervals specified. If you ride in dusty, wet, or muddy conditions, you will need to inspect the air cleaner element much more frequently.
Use the following procedure to remove the element and inspect it.
 Warning Warning
Never run the engine without the air cleaner element properly installed. |
|
Caution Clean or replace the air cleaner element frequently if the motorcycle is used in dusty, wet or muddy conditions. The air cleaner element will clog under these conditions, and this may cause engine damage, poor performance, and poor fuel economy. Clean the air cleaner case and element immediately if water gets in the air cleaner box. |
Air cleaner element removal
- Place the motorcycle on the side stand.
- Remove the front seat by referring to the seat lock and helmet holders section.
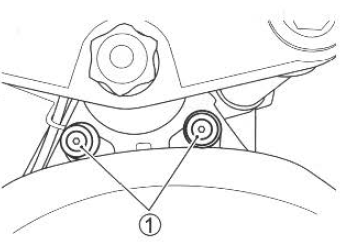
- Remove the fuel tank fitting bolts 3.
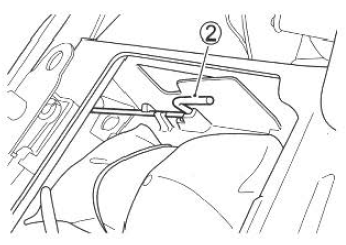
- Remove the prop stay 2.
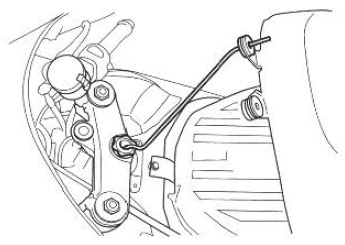
- Lift the front end of the fuel tank and prop it up as shown above. Insert the crank end of the prop stand into the hole of the steering shaft.
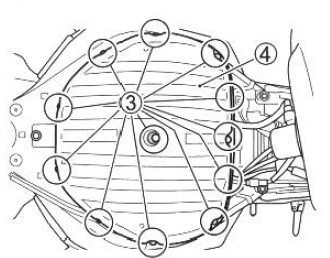
- Remove the 12 screws 3.
- Remove the cover 4.
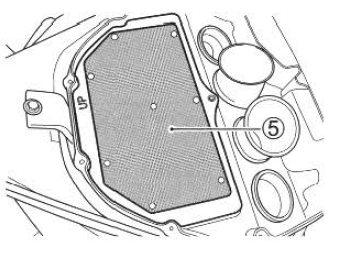
- Remove the air cleaner element 5.
Air cleaner element
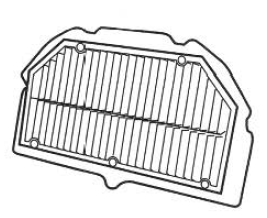
Inspect the air cleaner element condition. Replace the air cleaner element periodically.
Installation
Reinstall the air cleaner element in the reverse order of the removal.
|
Caution A torn air cleaner element will allow dirt to enter the engine and can damage the engine. Carefully examine the air cleaner element for tears during cleaning. Replace it with a new one if it is torn. |
|
Caution Failure to position the air cleaner element properly can allow dirt to bypass the air cleaner element. This will cause engine damage. Be sure to properly install the air cleaner element. |
 Batiery
The battery is located under the
front seat. Remove the front seat
by referring to the seat lock
and helmet holders section.
This battery is sealed type
and requires no maintenance.
Have you ...
 Spark plugs
Your motorcycle comes equipped
with ngk cr9e or denso
u27esr-n spark plugs. To determine
if the standard spark plug is
right for your usage, check the
color of the plug's porcelain center
electr ...
Other materials:
Clutch installation
Install the primary driven gear assembly (1).
Caution
if it is difficult to install the primary driven
gear, rotate the crankshaft.
Be sure to engage the oil pump drive
sprocket with the primary driven gear.
Install the spacer (2) and bea ...
Valve seat repair
The valve seats (1) for both the intake and exhaust
valves are machined to three different angles. The seat
contact surface is cut at 45°.
Intake valve
Exhaust valve
Caution
the valve seat contact area must be
inspected after e ...
Pair system inspection
Pair hose
Lift and support the fuel tank with the prop stay.
Refer to “fuel tank removal and installation” in section 1g .
Remove the air cleaner box. Refer to “air cleaner box removal and
installation” in section 1d .
Inspect the pair hoses for wear or damage. If it is worn or da ...