Suzuki GSX-R 1000 Service Manual: Front brake caliper parts inspection
Refer to “front brake caliper disassembly and assembly” .
Brake caliper cylinder
Inspect the brake caliper cylinder wall for nicks, scratches or other damage. If any damage is found, replace the caliper with a new one.
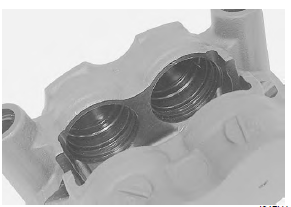
Brake caliper piston
Inspect the surface of brake caliper pistons for any scratches or other damage. If any damage is found, replace the pistons with a new set.
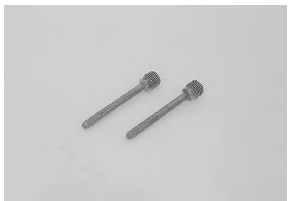
Brake pad mounting pin
Inspect the brake pad mounting pins for wear and other damage. If any damage is found, replace the mounting pins with new ones.
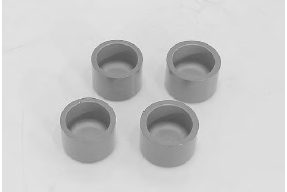
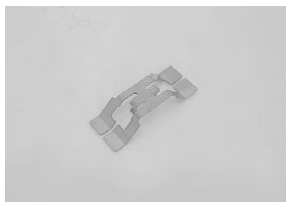
Brake pad spring
Inspect the brake pad spring for damage and excessive bend. If any damage is found, replace it with a new one.
 Front brake caliper disassembly and
assembly
Front brake caliper disassembly and
assembly
Refer to “front brake caliper removal and installation” .
Note
the right and left calipers are installed
symmetrically and therefore the disassembly
procedure for one side is the same ...
 Front brake disc removal and installation
Removal
Remove the front wheel assembly. Refer to “front wheel assembly removal
and installation” in section 2d .
Remove the front brake disc.
Installation
Install the front bra ...
Other materials:
Pair control solenoid valve removal and
installation
Removal
Lift and support the fuel tank with the prop stay.
Refer to “fuel tank removal and installation” in section 1g .
Remove the air cleaner box. Refer to “air cleaner box removal and
installation” in section 1d .
Remove the pair control solenoid valve (1) along
with the pair ...
Exhaust control system construction
Excv cable no. 1 (Cl)
Excv cable no. 2 (Op)
When
loosening or tightening the pulley bolt, be sure to fix the
pulley with an adjustable wrench, or excva may get damaged.
5 N·m (0.5 Kgf-m, 3.5 Lbf-ft)
42 – 43 Mm (1.65 – 1.69 In)
60 – 61 Mm (2.36 – ...
Gearshift linkage inspection
Refer to “gearshift shaft / gearshift cam plate removal and installation” .
Gearshift shaft
Check the gearshift shaft for bend or wear.
Check the return spring for damage or fatigue.
If any defects are found, replace the defective part(-s).
Gearshift shaft oil seal
Inspect the gearshif ...