
Suzuki GSX-R 1000 Service Manual: Regulator / rectifier removal and installation
Removal
- Turn the ignition switch off.
- Remove the right side cowling. Refer to “exterior parts removal and installation” in section 9d .
- Lift and support the fuel tank. Refer to “fuel tank removal and installation” in section 1g (page 1g- 9).
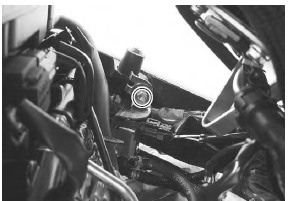
- Remove the evap system purge control solenoid valve bracket bolt. (E-33 only)
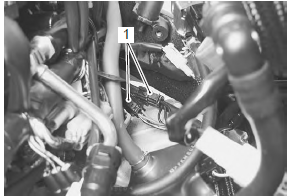
- Disconnect the regulator/rectifier couplers (1).
- Remove the regulator/rectifier as shown in the regulator/rectifier construction. Refer to “regulator / rectifier construction” .
Installation
- Install the regulator/rectifier as shown in the regulator/rectifier construction. Refer to “regulator / rectifier construction” .
- Reinstall the removed parts.
 Regulator / rectifier construction
Regulator/rectifier
Regulator/rectifier bracket
Air intake pipe (rh)
Spacer
Wiring harness
Connect
the regulator/rectifier couplers under the wiring harnes ...
 Regulator / rectifier inspection
Inspect the regulator/rectifier in the following procedures:
turn the ignition switch off.
Disconnect the regulator/rectifier couplers. Refer to “regulator /
rectifier removal and ...
Other materials:
Camshaft sprocket
Inspect the camshaft sprocket in the following
procedures:
remove the intake and exhaust camshafts. Refer to “engine top side
disassembly” .
Inspect the teeth of each camshaft sprocket for wear
or damage.
If they are worn or damaged, replace the sprocket/
camshaft assembl ...
Conclusion
Traffic, road and weather conditions
vary. Other motorists'
actions are unpredictable. Your
motorcycle's condition can
change. These factors can best
be dealt with by giving every ride
your full attention.
Circumstances beyond your control
could lead to an accident. You
need to prepare fo ...
Front suspension adjustment
After installing the front fork, adjust the spring pre-load
and two kinds of damping force as follows:
Adjust the
left and right front forks to the
same setting.
Spring pre-load adjustment
Turn the spring pre-load adjuster (1) counterclockwise
fully. From that position (softe ...