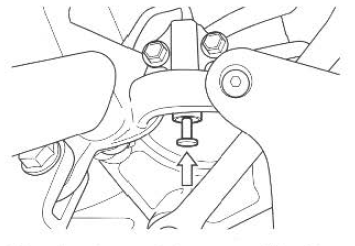
Suzuki GSX-R 1000 Owners Manual: Side standngnition interlock switch
Check the side stand/ignition interlock system for proper operation as follows:
- Sit on the motorcycle in the normal riding position, with the side stand up.
- Shift into first gear, hold the clutch in, and start the engine.
- While continuing to hold the clutch in, move the side stand to the down position.
If the engine stops running when the side stand is moved to the down position, then the side stand/ignition interlock system is working properly. If the engine continues to run with the side stand down and the transmission in gear, then the side stand/ignition interlock switch is not working properly. Have your motorcycle inspected by an authorized suzuki dealer or a qualified service mechanic.
 Warning Warning
This may interfere with rider control during a left turn. Check the side stand/ignition interlock system for proper operation before riding. Check that the side stand is returned to its full up position before starting off. |
 Tire condition and type
Tire condition and tire type affect
motorcycle performance. Cuts or
cracks in the tires can lead to tire
failure and loss of motorcycle
control. Worn tires are susceptible
to puncture failures an ...
 Front wheel removal
Place the motorcycle on the
side stand.
Remove both brake calipers
from the front forks by removing
two mounting bolts 1 on
each calipers.
Note: never squeeze the front
brake ...
Other materials:
Engine assembly installation
Install the engine in the reverse order of engine removal.
Pay attention to the following points:
before installing the engine, install the collars (1).
Before installing the engine, install the engine
mounting thrust adjusters (2).
Gradually raise the rear side of ...
Crankshaft thrust clearance inspection and
selection
Refer to “engine bottom side disassembly” (page 1d-
49).
Refer to “engine bottom side assembly” .
Inspection
With the crankshaft’s right-side and left-side thrust
bearings inserted into the upper crankcase.
Measure the thrust clearance “a” between the leftside
thrust bearing and ...
Specifications
Tightening torque specifications
Note
the specified tightening torque is described in the following.
“Rear view mirror construction”
Reference: for the tightening torque of fastener not specified in this
section, refer to “tightening torque list” in section 0c . ...