Suzuki GSX-R 1000 Service Manual: Oil pump removal and installation
| Note be careful not to drop any parts into the crankcase. |
Removal
- Remove the oil pan, oil pressure regulator and oil strainer. Refer to “oil pan / oil pressure regulator / oil strainer removal and installation” .
- Remove the oil pump driven gear bolt (1).
- Remove the oil pump driven sprocket (2).
- Remove the washer (3).
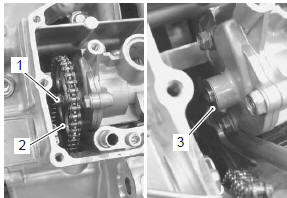
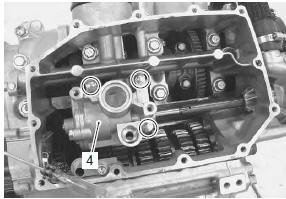
- Remove the oil pump (4).
- Remove the o-ring (5) and dowel pins.
Installation
- Install the dowel pins.
- Apply grease to new o-ring.
| Caution use a new o-ring to prevent oil leakage. |
 : Grease 99000–25010 (suzuki
super
grease “a” or equivalent)
- Install the oil pump.
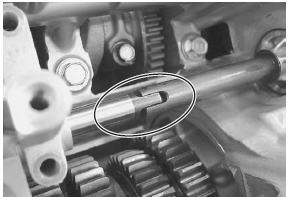
| Note engage the oil pump shaft end with the water pump shaft slot. |
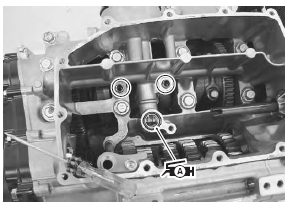
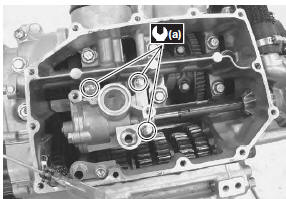
- Tighten the oil pump mounting bolts to the specified torque.
Tightening torque oil pump mounting bolt (a): 10 n·m (1.0 Kgf-m, 7.0 Lbf-ft)
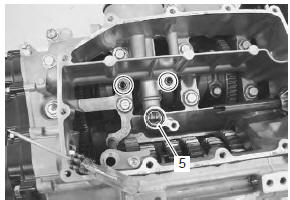
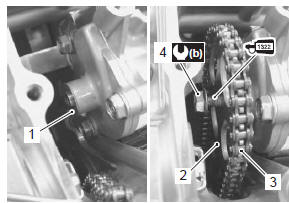
- Install the washer (1).
- Install the oil pump driven sprocket (2) with the chain (3).
- Apply a small quantity of thread lock to the oil pump driven sprocket bolt (4) and tighten it to the specified torque.
 : Thread lock cement
99000–32110
(thread lock cement super “1322” or
equivalent)
Tightening torque oil pump driven sprocket bolt (b): 10 n·m (1.0 Kgf-m, 7.0 Lbf-ft)
- Install the oil pan, oil strainer and oil pressure regulator. Refer to “oil pan / oil pressure regulator / oil strainer removal and installation” .
 Oil jet inspection
Refer to “oil jet removal and installation” .
Oil jet
Make sure that the oil jets are not clogged. If they are
clogged, clean their oil passage using a wire of the
proper size and compressed air.
...
 Oil pump inspection
Inspect the oil pump in the following procedures:
remove the oil pump. Refer to “oil pump removal and installation” .
Rotate the oil pump by hand and check that it moves
smoothly. ...
Other materials:
Specifications
Service data
Thermostat + radiator + fan + coolant
Tightening torque specifications
Note
the specified tightening torque is described in the following.
“Water hose routing diagram” “water pump components” “water
pump construction”
Reference: for the tig ...
Symbols
Listed in the table below are the symbols indicating instructions and other
information necessary for servicing.
The meaning of each symbol is also included in the table.
Abbreviations
A:
abdc: after bottom dead center
ac: alternating current
acl: air cleaner, air cleaner box
api: ame ...
Exhaust control system operation
The excs is operated by the signal supplied from the ecm. The open/close
operation of the excv is performed by
the excva which is controlled by the ecm by changing the current direction of
the actuator motor. The position
sensor (incorporated in the excva) detects the excva movement by measuri ...