Suzuki GSX-R 1000 Service Manual: Rear brake caliper parts inspection
Refer to “rear brake caliper disassembly and assembly” .
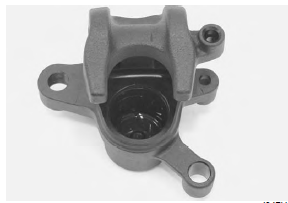
Brake caliper cylinder
Inspect the brake caliper cylinder wall for nicks, scratches or other damage. If any damage is found, replace the caliper with a new one.
Brake caliper piston
Inspect the brake caliper piston surface for any scratches or other damage. If any damage is found, replace the piston with a new one.
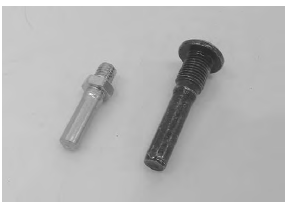
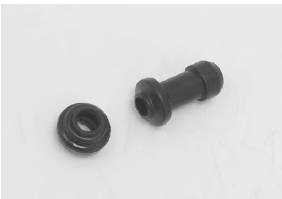
Brake caliper sliding pin
Inspect the brake caliper sliding pins for wear and other damage. If any damage is found, replace the sliding pin with a new one.
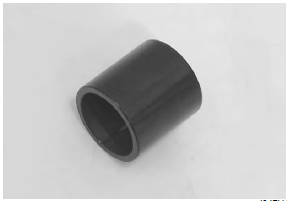
Boot
Inspect the boots for damage and wear. If any defects are found, replace it with a new one.
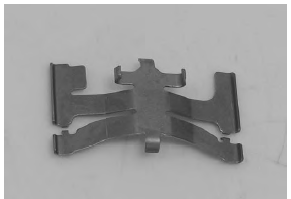
Brake pad spring
Inspect the brake pad spring for damage and excessive bend. If any defects are found, replace it with a new one.
 Rear brake caliper disassembly and
assembly
Rear brake caliper disassembly and
assembly
Refer to “rear brake caliper removal and installation” .
Disassembly
Remove the pad spring (1) and rubber boot (2) from
the caliper.
Place a rag over the piston to prevent it from pop ...
 Rear brake disc removal and installation
Removal
Remove the rear wheel assembly. Refer to “rear wheel assembly removal
and installation” in section 2d .
Remove the rear brake disc.
Installation
Install the rear brake d ...
Other materials:
Rear combination light removal and installation
Removal
Remove the frame cover assembly. Refer to “exterior parts removal and
installation” in section 9d .
Remove the clamps (1).
Disconnect the combination light coupler (2).
Remove the rear combination light assembly (3).
Remove the combination light brack ...
Rear view mirror construction
Body cowling
Cowling brace
Cushion
Turn signal lead wire
Turn signal lead
wire coupler
: locate the turn signal lead wire coupler (5) between the
mirror cover (6) and mirror body (7).
Mirror cover
Mirror body
10 N·m (1.0 Kgf-m, 7.0 L ...
Service data
Valve + guide
unit: mm (in
Camshaft + cylinder head
unit: mm (in
Cylinder + piston + piston ring
unit: mm (in)
Conrod + crankshaft
unit: mm (in)
Balancer
unit: mm (in)
Throttle body
...