
Suzuki GSX-R 1000 Service Manual: Water pump related parts inspection
Refer to “water pump disassembly and assembly” .
Mechanical seal
Visually inspect the mechanical seal for damage, with particular attention given to the sealing face.
Replace the mechanical seal that shows indications of leakage.
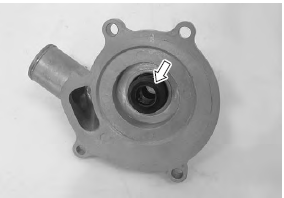
Oil seal
Visually inspect the oil seal for damage, with particular attention given to the lip.
Replace the oil seal that shows indications of leakage.
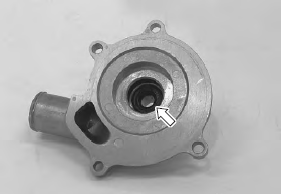
Seal washer
Visually inspect the seal washer for damage, with particular attention given to the sealing face.
Replace the seal washer that shows indications of leakage.
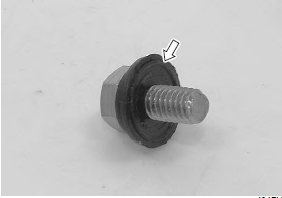
Impeller / shaft
Visually inspect the impeller and its shaft for damage.
Replace the impeller or shaft if necessary.
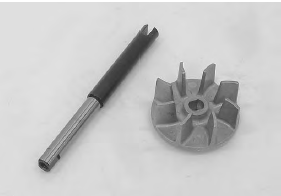
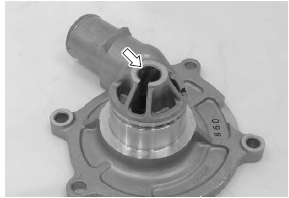
Impeller shaft journal
Visually inspect the journal for damage or scratch.
Replace the holder if necessary.
 Water pump disassembly and assembly
Refer to “water pump removal and installation” .
Disassembly
Remove the air bleeder bolt (1) if necessary.
Remove the water pump case screws.
Remove the o-ring (2).
...
 Specifications
Service data
Thermostat + radiator + fan + coolant
Tightening torque specifications
Note
the specified tightening torque is described in the following.
“Water hose routing diag ...
Other materials:
Clutch components
Clutch pressure plate
Clutch push piece
No. 1 Drive plate (8 pcs.)
No. 3 Driven plate (0 – 2 pcs.)
No. 1 Driven plate (5 – 7 pcs.)
No. 2 Driven plate (1 pc.)
No. 2 Drive plate (1 pc.)
Spring washer
Spring washer seat
Clutch sleeve hub
Seat ...
Rear wheel removal
Place the motorcycle on the
side stand.
Remove the cotter pin 1.
Remove the axle nut 2.
Warning
A hot muffler can burn you.
The muffler will be hot enough
to burn you for some time after
stopping the engine.
Wait until the muffler cools to
avoid bur ...
Rear brake master cylinder assembly removal and installation
Refer to “rear brake hose routing diagram” (page 4a-
2).
Removal
Remove the right side frame cover. Refer to “exterior parts removal and
installation” in section 9d .
Remove the rear brake fluid reservoir mounting bolt
(1).
Drain brake fluid. Refer to “brake fluid replac ...